



How to Choose an Ultrasonic Transducer: Frequency & Power Guide
How to Choose an Ultrasonic Transducer: Frequency & Power Guide
Choosing the right ultrasonic transducer is not about buying the most powerful one — it is about matching frequency (15 / 20 / 28 / 35+ kHz) and power class to your part size, material, weld area and cosmetic requirement. Lower frequency (larger amplitude) suits large, thick, rigid parts; higher frequency suits small, thin, cosmetic-sensitive parts. Power should match the weld area with 15–20% headroom for continuous production. Get frequency and power right, then confirm system compatibility, material type and joint design before ordering.
Why the Right Transducer Matters
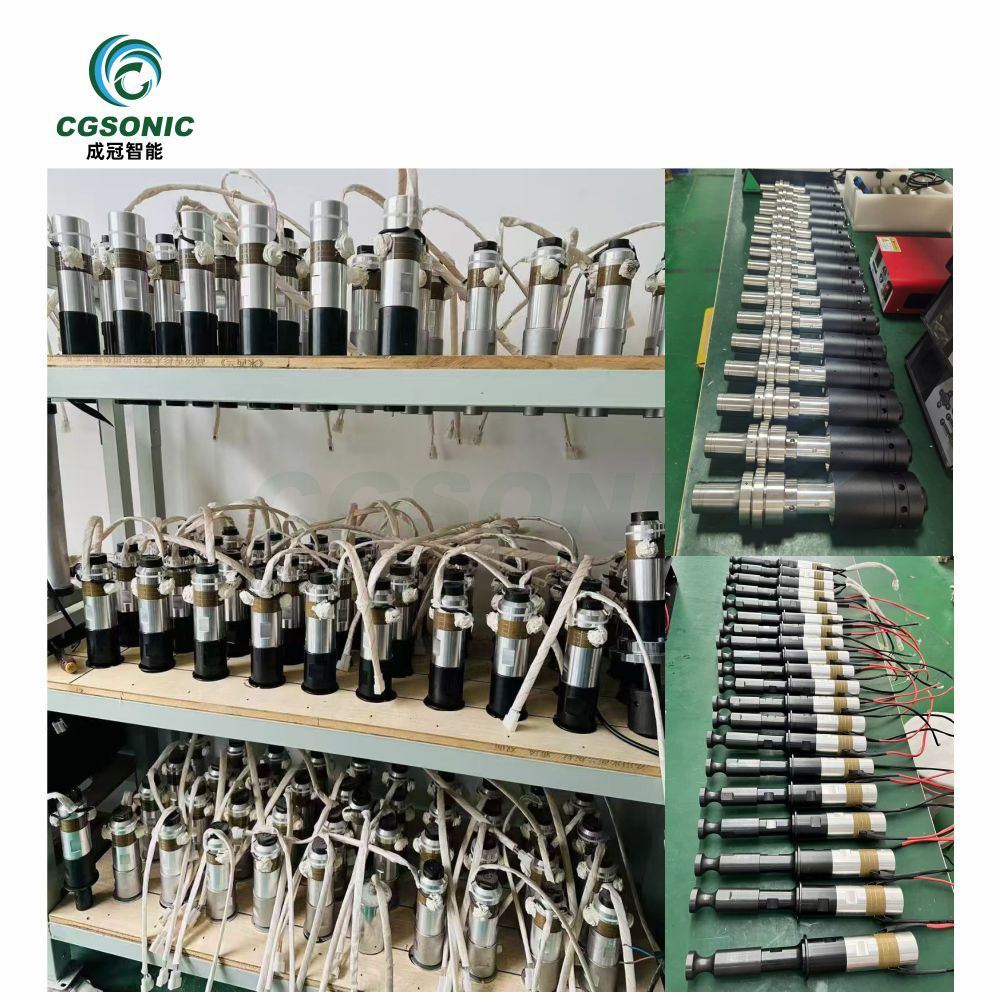
The transducer is the heart of an ultrasonic welding system. It converts high-frequency electrical energy from the generator into mechanical vibration that drives the horn and welds the part. A mismatched transducer shows up as weak welds, flash, crushed parts, marking on cosmetic surfaces, or shortened transducer life. The good news: once you understand how frequency and power interact with your part, picking the right one takes only a few minutes.
Frequency: Higher Isn't Better—It's Different
Frequency determines how hard the vibration hits the plastic. Lower frequency equals larger amplitude, deeper penetration and more aggressive welding — best for thick walls and rigid plastics. Higher frequency equals smaller amplitude, finer and gentler vibration — best for thin, delicate and cosmetic-sensitive parts. The right frequency is the one that matches your part, not the highest number on the data sheet.
Rule of thumb
- Thick / large / hard-to-weld parts → go lower frequency (15 kHz–20 kHz).
- Thin / small / cosmetic-sensitive parts → go higher frequency (28 kHz–35 kHz+).
Power: Match It to Weld Area, Not 「Bigger Is Better」
Power should match the weld area and material volume. Too little power causes weak welds and partial bonding. Too much power crushes the part, produces flash, damages cosmetic surfaces and shortens transducer life. The right power is the one that melts the joint in the prescribed weld time — and that depends on weld area, not on a marketing number.
Common power classes
- Small spot welds / thin films → low-power class (a few hundred watts, paired with 28 kHz / 35 kHz).
- Medium housings & enclosures → 1500 W–2000 W class (typically 20 kHz).
- Large parts & wide weld lines → 2600 W–4200 W class (typically 15 kHz).
- Difficult materials (PP, PE, glass-filled plastics) → step up one power size rather than forcing a marginal weld.
-
Pro tip
For continuous production, leave 15%–20% power headroom rather than running at 100% all day. Oversizing slightly is safer than undersizing.
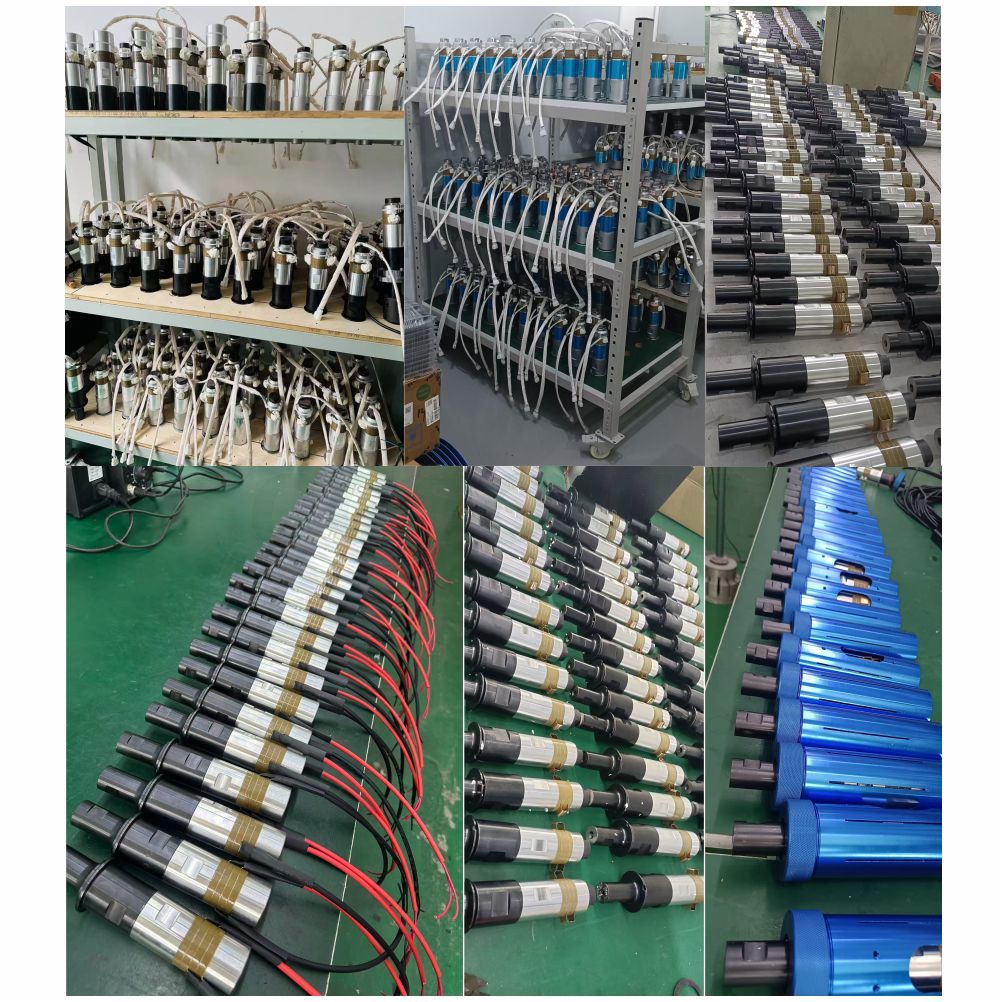
Frequency × Power Selection Matrix
Use the table below as a quick reference when quoting a transducer. Match your part size and material to the closest row; the recommended frequency and power class will give you a solid starting point.
|
Frequency |
Best For |
Part Size |
Typical Power |
Notes |
|
15 kHz |
Large parts, thick walls, rigid engineering plastics (ABS, PC, nylon), automotive components| |
Large |
2600–4200 W |
High power, strong weld, less concern about cosmetic appearance |
|
20 kHz |
General-purpose welding, electronic housings, toys, consumer products |
Medium |
1500–2000 W |
The most versatile and cost-effective choice |
|
28 kHz |
Small precision parts, connectors, USB plugs, SD cards |
Small |
300–800 W |
Lower amplitude, cleaner weld, less flash |
|
35 kHz+ |
Ultra-small, thin or delicate parts, medical consumables, sensor housings, eyewear |
Micro |
100–400 W |
Finest weld, minimal cosmetic impact, lowest vibration |
Beyond Frequency & Power: Three More Things to Check
① System compatibility
The transducer frequency must exactly match your generator and booster. A 20 kHz transducer will not work with a 15 kHz generator, even if the power rating looks right. When buying parts separately, confirm all three components (transducer, generator, booster / horn) are tuned to the same resonant frequency.
② Material type
Rigid plastics (ABS, PS, PMMA, PC) are easy to weld at standard settings. Semi-rigid and flexible materials (PP, PE, soft PVC) need higher amplitude or lower frequency to flow properly. Glass-filled plastics dissipate energy and require more power or longer weld time. Confirm material grade before finalizing the transducer spec.
③ Weld joint design
Energy directors, shear joints, step joints and tongue-and-groove joints all behave differently. A poorly designed joint cannot be saved by a better transducer — energy has nowhere to concentrate. Always test with sample parts before committing to a full production order.
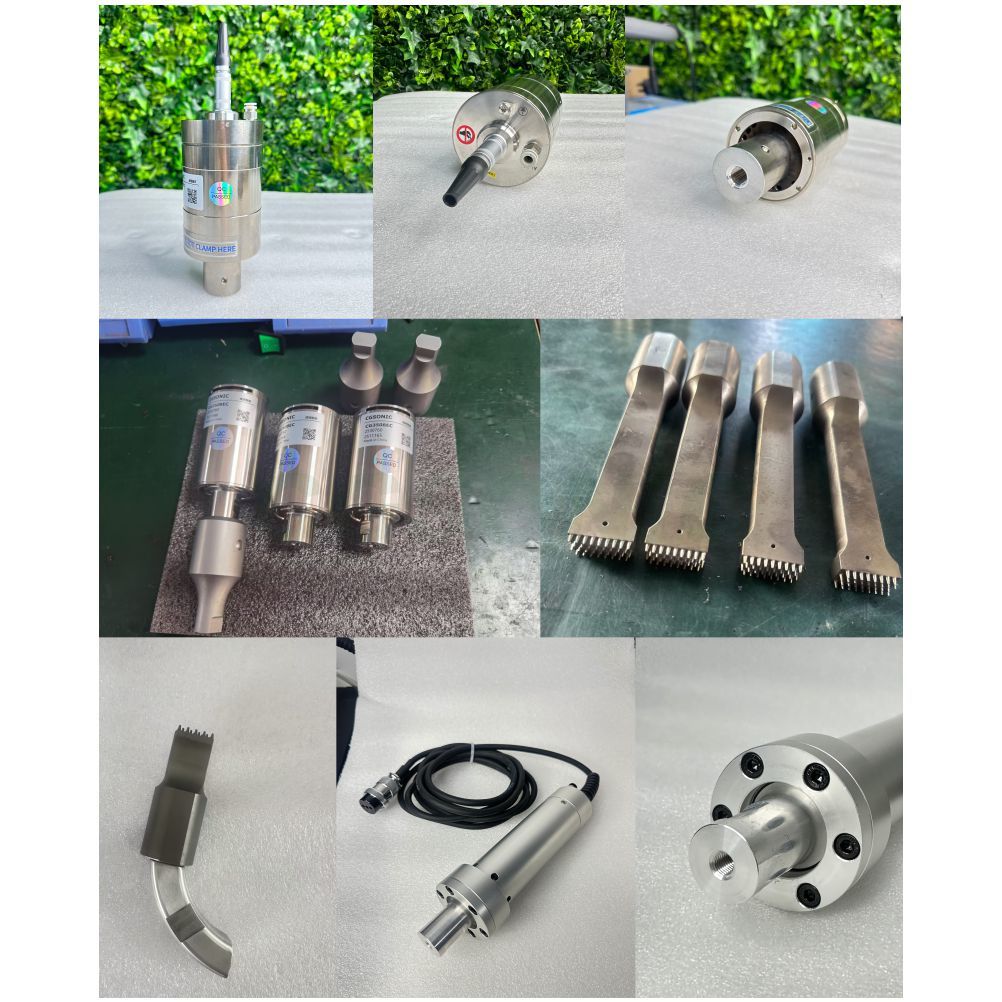
Common Selection Mistakes to Avoid
Mistake 1: Buying the most powerful transducer 「just in case」. — Oversized power crushes parts and shortens transducer life. Headroom of 15–20% is enough; 50%+ oversize is a liability.
- Mistake 2: Mixing frequencies across components. — A 15 kHz transducer with a 20 kHz horn will not resonate and will fail quickly. Always keep transducer, booster and horn on the same frequency.
- Mistake 3: Ignoring cosmetic requirements. — High-amplitude welds on visible surfaces leave flash, stress marks or part collapse. Switch to a higher frequency (smaller amplitude) if the welded area is on a cosmetic face.
- Mistake 4: Skipping sample testing. — Even with the right spec on paper, joint geometry and material grade can change the answer. Always run 50–100 sample welds before bulk ordering.
Quick Selection Checklist
Before you contact a supplier, have the following answers ready. They are exactly what an engineer needs to recommend the right transducer and avoid back-and-forth quoting.
☐ Part material (e.g., ABS, PP, PC, glass-filled nylon)
☐ Wall thickness and weld area (mm²)
☐ Part size and geometry
☐ Cosmetic requirements (visible surface? marking tolerance?)
☐ Production volume / cycle time needed
☐ Existing generator / booster frequency
☐ Weld joint design (energy director, shear, step, etc.)
FAQ
Q1:Does a higher kHz mean a stronger weld?
A1:No. Higher kHz means smaller amplitude and gentler vibration. Lower kHz means larger amplitude and stronger weld penetration. Strength comes from matching frequency to part size, not from picking a higher number.
Q2:Can I use a 20 kHz transducer with a 15 kHz horn?
A2:No. The transducer, booster and horn must all share the same resonant frequency. A 20 kHz transducer with a 15 kHz horn will not couple properly — it will produce weak welds, fail to start, or burn out the converter within minutes.
Q3:What power class do I need for small plastic spot welds?
A3:For small spot welds on thin films, connectors or micro parts, you typically need a low-power class (a few hundred watts) paired with a higher frequency (28 kHz or 35 kHz). Power that is too high will crush the part rather than weld it.
Q4:How do I know if my current transducer is undersized?
A4:The most common signs are: weak welds that pull apart easily, weld times that are too long (above 2 seconds for typical plastics), frequent converter overload alarms, or the transducer running hot. Any of these usually means stepping up one power class — not buying a whole new generator.
Talk to Us
Send us a photo or drawing of your parts, along with material grade and target volume. Our engineers will recommend the right frequency, power class and sonotrode design — and run a sample weld on your actual parts for your approval, before any bulk order is placed.